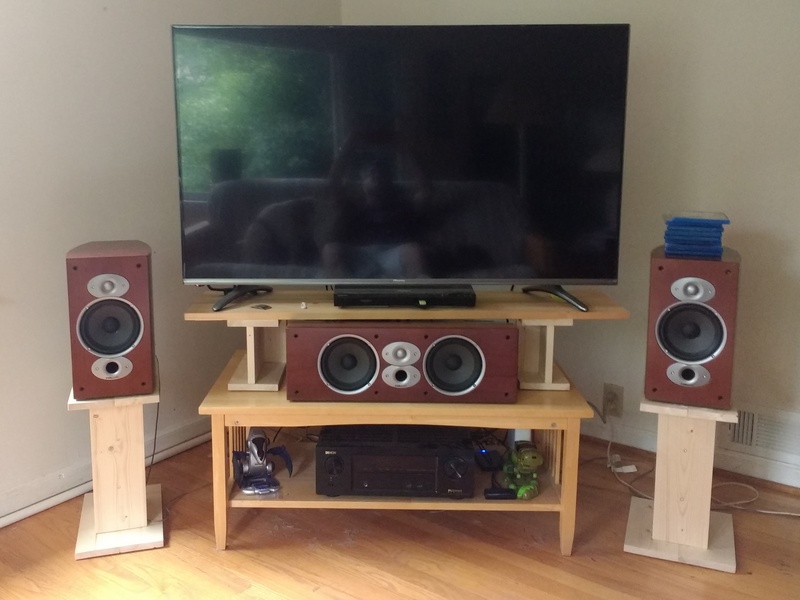
At some point in my life I bought a coffee table, not to put my feet up on or to eat from while watching TV like everyone else does, but to hold my DVD player, VCR, and surround sound receiver, next to my floor-standing giant rear projection TV. When that TV died, I got a new flat screen TV and needed a place to put it. However, the legs of the TV were spaced so far apart that they would overhang the ends of the coffee table just a bit, inviting disaster if the TV shifted at all. So I got some boards from Home Depot and put those on top of the table to widen the top just enough to comfortably hold the TV. The lower shelf of the coffee table held the receiver and the center channel speaker of my surround sound system and there was just enough room under the TV to hold my UHD Blu-ray player. I put the left and right speakers of the surround system on top of the old left and right speakers from my previous surround system to get them up to the height of the TV screen and closer to ear height on either end of the coffee table. Great little system.
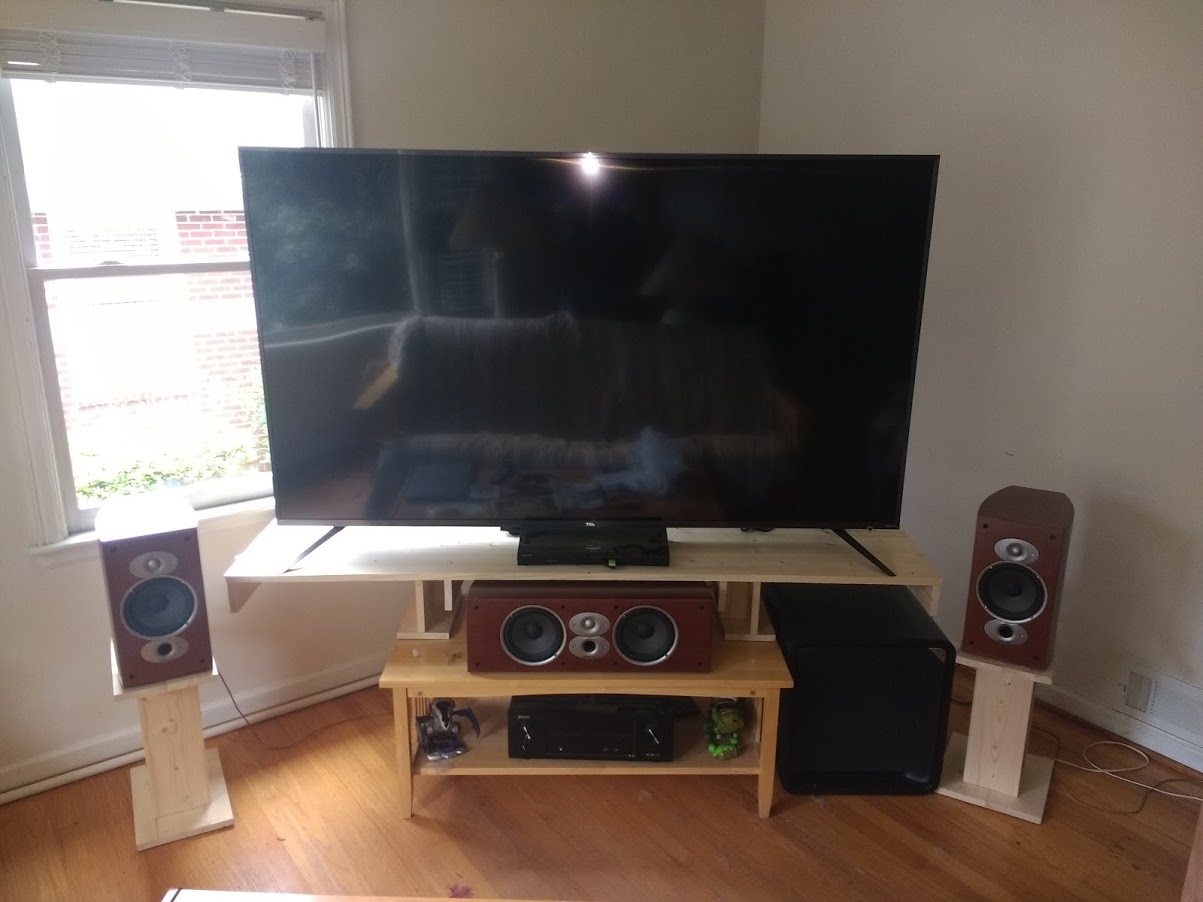
When I upgraded my speakers, I realized that hiding the center channel speaker down on the lower shelf probably wasn’t the best idea acoustically, plus the new center speaker was significantly larger so I don’t know that it would fit under there anyway. Instead I decided to use the boards that held the TV as a shelf and raised the TV above the surface of the coffee table and put the speaker underneath. I used the old left and right surround speakers to hold up the shelf, but it wasn’t high enough to clear the speaker so I added a 2×4, which wasn’t great but it worked for the time being.
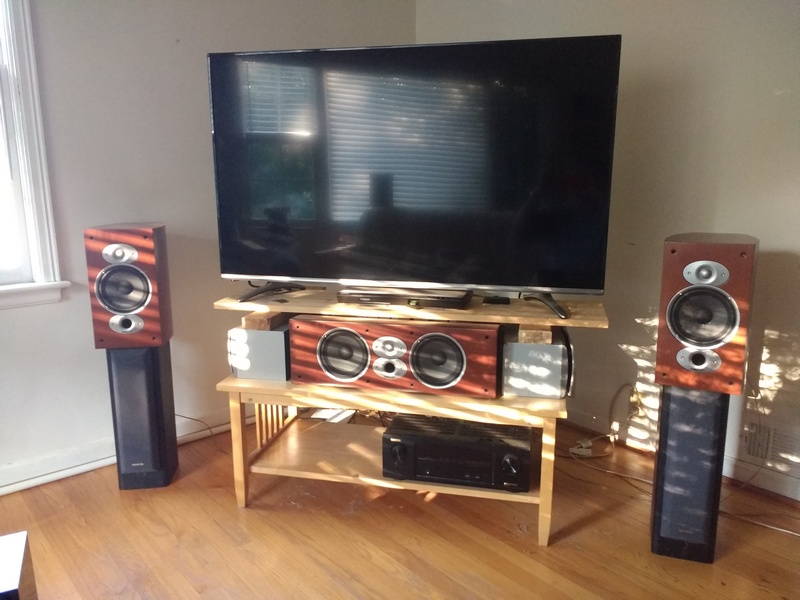
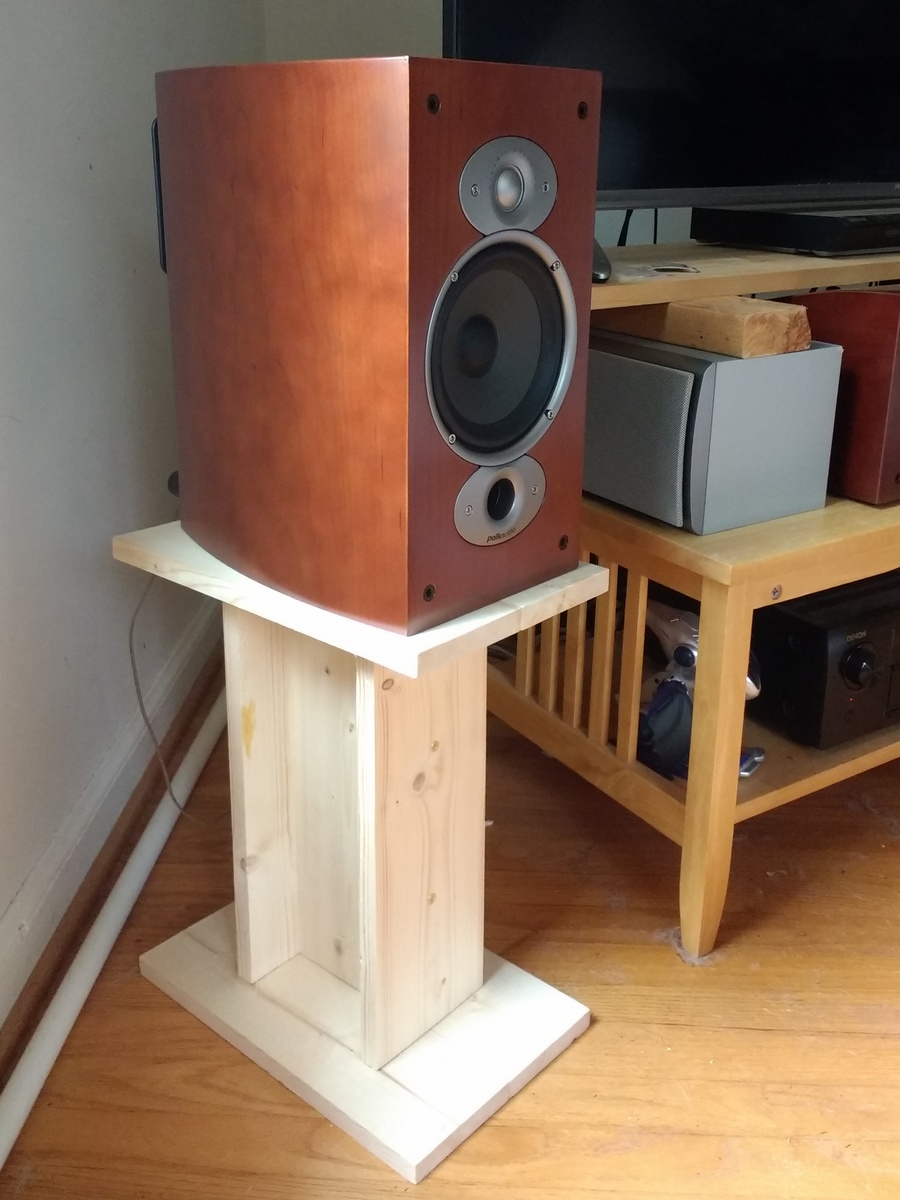
When I got the new left and right speakers they were also larger than the old speakers so they didn’t seem that stable sitting up on the old, old speakers. I shopped for speaker stands and found a few but they are kind of expensive. I figured I could make some myself and looked around for ideas. I knew I needed a top shelf of about 9″ wide by 14″ deep to hold my speakers and that would also make a decent size footing. Then for height an I-beam seemed like a good solution. The same type of wood I had used for the TV shelf looks pretty good and isn’t terribly expensive and it comes in lots of different sizes at Home Depot, like 1×4, 1×6, and 1×8, though 1×8 gets a lot more expensive.
I also needed something to support the TV shelf and thought a rectangular tube would look decent (cinder blocks would have worked pretty well and would have been cheap, but I wasn’t sure I wanted wood speakers possibly rubbing against concrete, plus it sounds neat and industrial, but they still look like cinder blocks). I worked up a plan to get the right height and counted up how many feet of each size board I would need for the risers and the speaker stands and headed to Home Depot last weekend. I was very happy to see they had 1×5 boards which are actually 4.5″ wide, so two of those were perfect for the top shelf of the speaker stands. But I had to do some quick refiguring and realized I would have to buy two 8′ 1×5 boards even though I would only be using 28″ of the second board. Also, I expected 8′ 1×6 boards, but they only had 6′ lengths and had to do more figuring. Once I got home I figured out how many of each piece I would need and how I could cut those out of the boards I had the most efficient way possible. On one of the stands I made the footing out of 1×6 boards instead of 1×5 since I didn’t have enough 1×5, but I was little short of 1×6, so I made the 1×6 footings only 12″ long instead of 14″. It was that close.
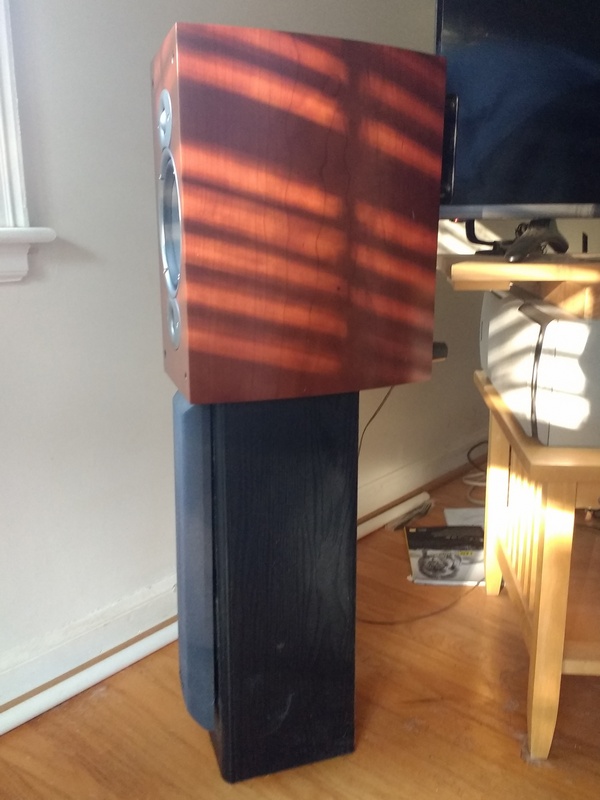
I cut the boards with my little cordless circular saw, clamping a 2×4 3/4″ from the cut so that I could use the 2×4 as a guide and get a perfectly straight cut without thinking about it. This gave me really uniform results in the board lengths, which was critical so they would fit up correctly. I made the I beams for the speaker stands first and used screws instead of nails because I am terrible with nails and screws just seem like they work better. I bought some fancy brass screws and predrilled all of the holes drilling from the inside side of the flanges so that when I put the screw in from the outside, it would hit the web board right along the center. The I beams turned out really well and then I attached the top and bottom pieces with two screw each, one screw going into each flange and none into the web since the end pieces were only halfway covering the web each. Very good results.
The tubes didn’t go so well. The top and bottom could be one piece each, but the sides were too wide (needed to be 6.5 inches wide and Home Depot didn’t have 1×7’s) so I the vertical were two 1×6’s 6.5 inches long. It was really hard to make everything line up and get it all 90 degrees, plus I was trying to minimize the number of screws. Boxes are really hard to make. And I still felt like I needed some kind of stiffener inside so the box wouldn’t sway over. The next day I came back to it and decided to make the risers be I beams as well which simplified everything but meant only one vertical board supporting the TV instead of two like you would have with a tube. Instead of putting two skinny stiffeners on each side of the web, I put one larger one on one side only so the web doesn’t run down the center of the I. I should have probably just made it symmetrical, but it works, was easier to make, and used a little less wood (and importantly used all of the same size pieces since I had already cut them).
Just a couple of weeks after posting this, I upgraded the TV to a 75″ model which required a much wider support. Using the same idea, I got longer planks and used a stiffener along the back and transverse stiffeners to try to distributed the load to all 3 of the planks that are side by side. There is some noticeable sag, but it has worked for year now.