Post Thumbnail Editor – WordPress Plugin

WordPress has a good built in image editor as well as gallery manager for posting multiple images in a post.

However, sometimes the thumbnails it builds by default are not optimal, especially if the focus of a photograph or image is off center. And while WordPress supports cropping and applying to the thumbnail only, it is not obvious (at least to me) and creates mixed results.

One way I have addressed this was to create a second cropped version of an image for the purpose of using in thumbnail or feature displays, uploading it, and then selecting this second image as the feature for a post. That works, but it creates some overhead and sometimes even this leads to unexpected results, especially depending on how your theme manages thumbnails.

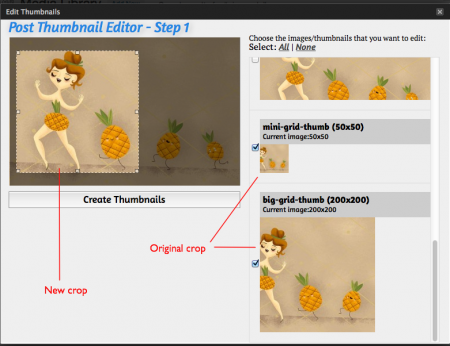
I found a great plugin for managing thumbnails in these situations – Post Thumbnail Editor by sewpafly. In the example below, the leading lady in the pineapple parade was getting cropped. Using Post Thumbnail Editor, I am choosing to update just two of the thumbnails: the 50 x 50 and the 200 x 200, because of their square shape, with the crop you see on the left. The only thing that was not intuitive to me is that I simply drag my pointer to create the crop. I’m used to choosing a cropping tool first in most software, but even Word Press’s own thumbnail editor works this way.

Click to zoom:

WP Post Thumbnail Editor Plugin

Replacing two bad crops on right with new crop on left.

You access Post Thumbnail Editor in one of two ways:

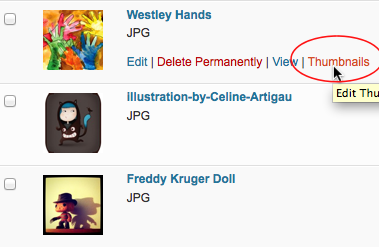
1. The Media Library summary view has a new float-menu choice, “Thumbnails.”

WP Post Thumbnail Editor - menu choice

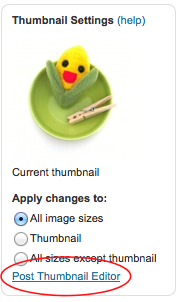
2. Or when editing the details of an image, there is a new choice in the Thumbnail Settings interface:
Radio Fence Repair: Backside

We haven’t had much rain in the second half of the summer, but after two downpours, the radio fence transmitter started chirping, indicating a break. It stopped chirping after the first rain before I could check for the break. It didn’t stop the second time, so I went digging, so to speak.

Wet ground has usually meant one of the previous mends is getting wet or corroded and losing contact, so it is a challenge to figure out which mend is having the problem. Using some extra wire, I was able to isolate the break to the back corner where Fort Charlie is, but testing past mends found them all in good shape.

I decided the wire must have broken underground in a place that gets a lot of water and dirt gets pushed around, so I replaced half of the back line. I also replaced three mends with two in the process, using wire caps, contact cement, and electrical tape. The photos will give clues the next time I have to worry about this.

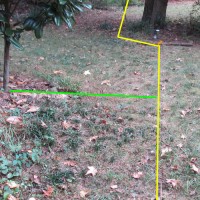
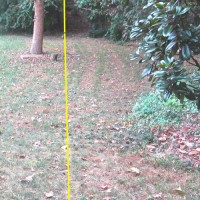
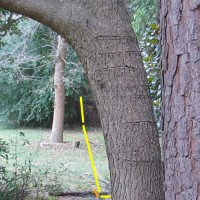
Having a straight line helps when locating the wire. I tied a rope between a sweetgum tree and the base of a privet bush to provide a guide. The yellow line indicates where the wire runs between the sweetgum, privet, and then up to the corner of the property, turning along the neighbors fence. The shovel in the photo shows the wire runs under the handle just at where the metal shovel begins. The green line shows the wire being one shovel length from the dwarf magnolia. The two small orange lines indicate the location of the two new mends with orange wire caps. I left plenty of spare wire in these locations to allow for future testing and re-mending.

See also: Radio Fence Repair 2009-11